

|
Piercing Saw Tutorial by Alf Murtell |
|
|
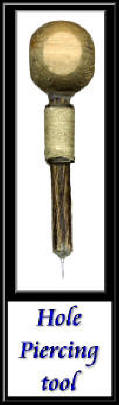
The piercing saw is a smaller version of the fret saw and is used by model makers and jewellers, it is ideal for cutting smaller pieces of marquetry. The fret saw can also be used, but it is inclined to be cumbersome. The piercing saw blades come in various grades, they are brittle, but can be softened by immersion in hot lead. I would suggest that you start with a
coarse blade until you get used to handling them, and then
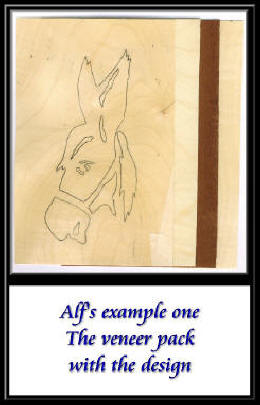
gradually progress to the very fine blades. You will need four pieces of veneer
(piercing saw example 1) in this case we are using 3 pieces of
sycamore and one of sapele. Trace your design on to a piece of sycamore, if you are able to get any waxed paper, inter-leave this between the four veneers, this will help to lubricate the saw blade, it is also a good idea to veneer tape all the veneers. Make a “sticky tray” out of cardboard, say 7” x 9” (18 x 23 cm’s approx) and back it with a piece of Fablon (Fablon is a sticky backed plastic covering, often with a wood grain effect, used for covering and decorating blank surfaces such as cupboard doors etc. If the Fablon brand is not available in
your locality any similar type of sticky backed plastic covering
will suffice). |
 |
|
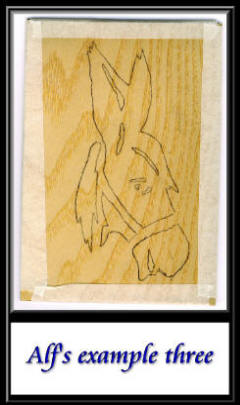
Remove the backing sheet from the Fablon and hinge this to the top of the tray (see piercing saw example 2). Tape together tightly all four pieces of
veneer (piercing saw example 3). The first pieces to be cut out
are the high lights on the face and mouth. |
|
 |
 |
|
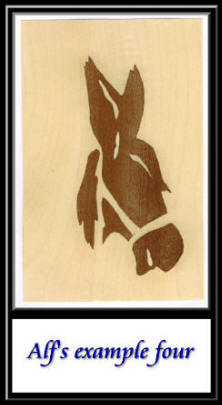
Carry on doing the same procedures as I've outlined above for the rest of the picture. When you have completed all the sawing,
cut your wad of veneers apart, discarding the top and bottom
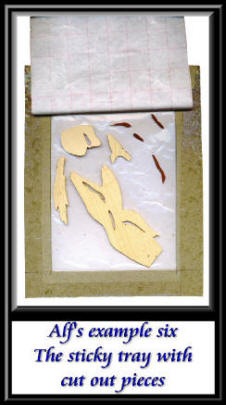
veneers as you did with the first cut. Piercing saw example 4 shows the completed picture. Piercing saw example 5 shows the picture awaiting the remaining pieces on the tray. Piercing saw example 6 shows the cut out
pieces of sycamore on the sticky tray ready for insertion into
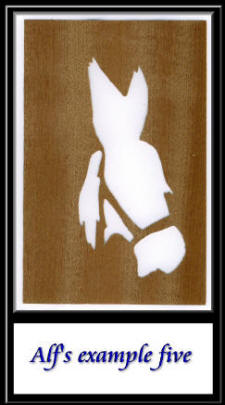
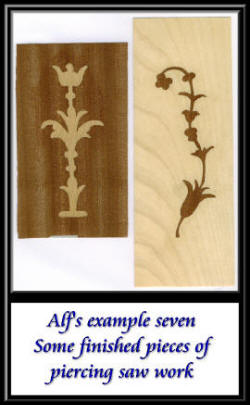
the piece of sapele as seen in example 5. Piercing saw example 7 shows two other designs cut with a saw. While I think of it, the one big important difference you will find with the piercing saw blade is that it is a 'round blade' with the cutting teeth place all round the blade so that it can cut from any direction. Fret saws only cut in one direction. If you want to cut a curved line you have to move the work or the saw itself in the direction of the required cut. In this respect the piercing saw is a much easier tool to use for the purpose. |
 |
 |
 |
 |
 |
|
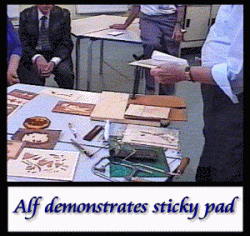
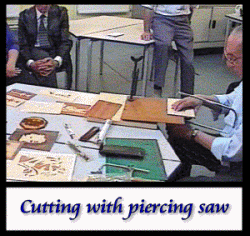
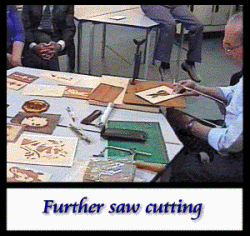
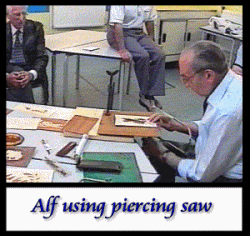
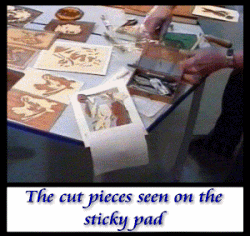
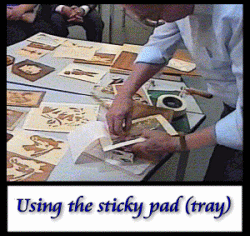
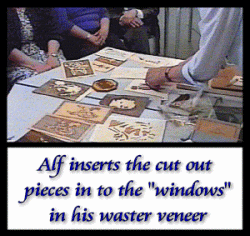
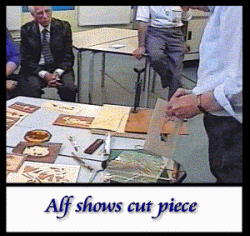
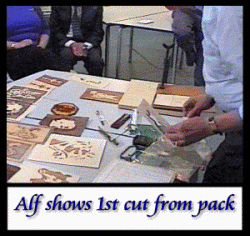
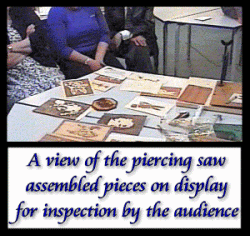
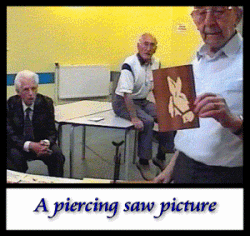
A few 'Stills' from the Piercing Saw Video |
|
 |
 |
 |
 |
 |
 |
 |
 |
 |
 |
 |
 |
 |
 |
 |
 |
|
Well, we hope you have found
these "stills" have helped you with your understanding of
the intricacies of piercing saw work.
We apologise to those of you who are using a normal dial up connection for the slightly slow down load speed of these pictures. This is due to our goal of keeping as much clarity in these video stills as possible, we hope you approve of these arrangements. |
|
| Tutorials Menu | |